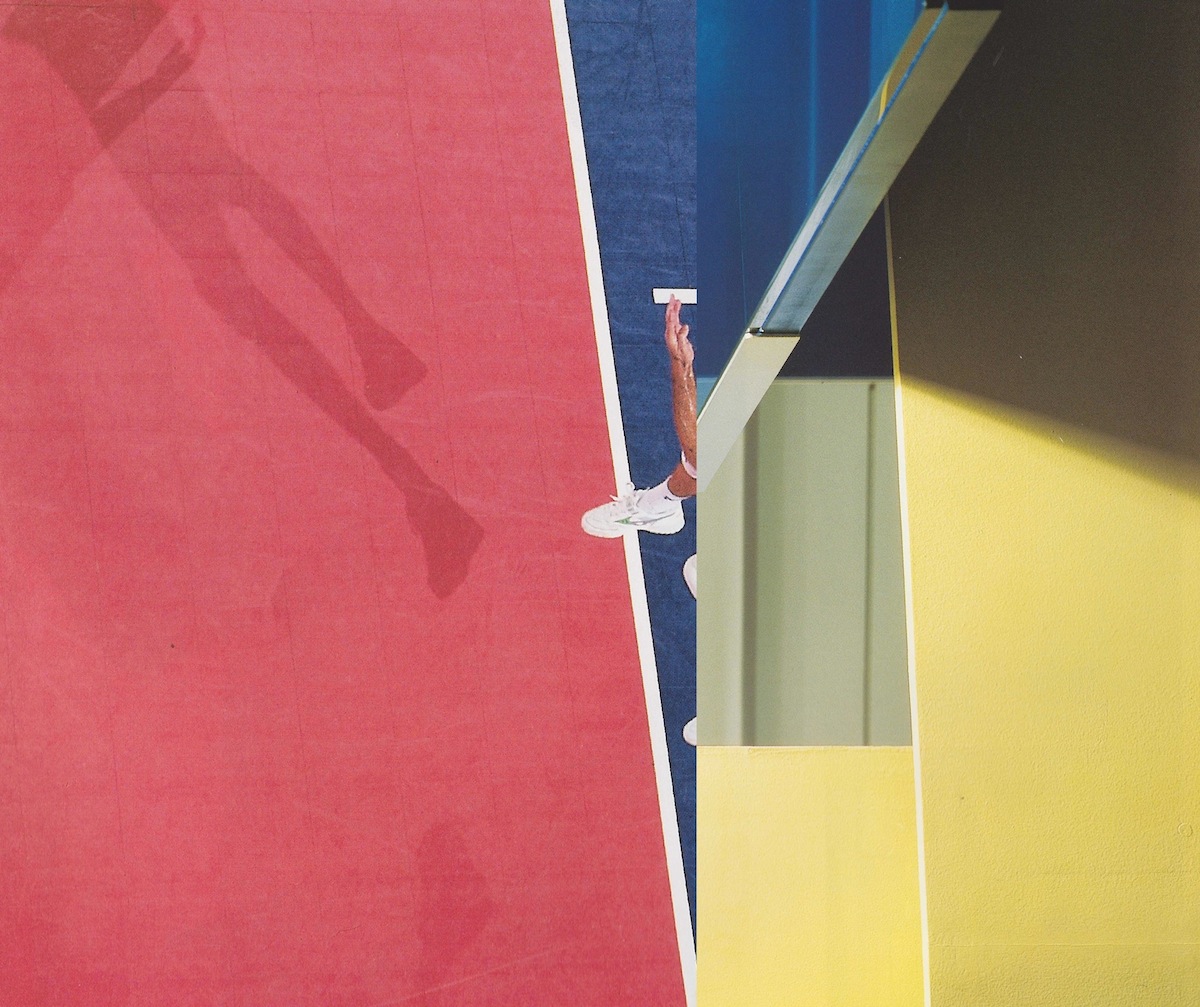
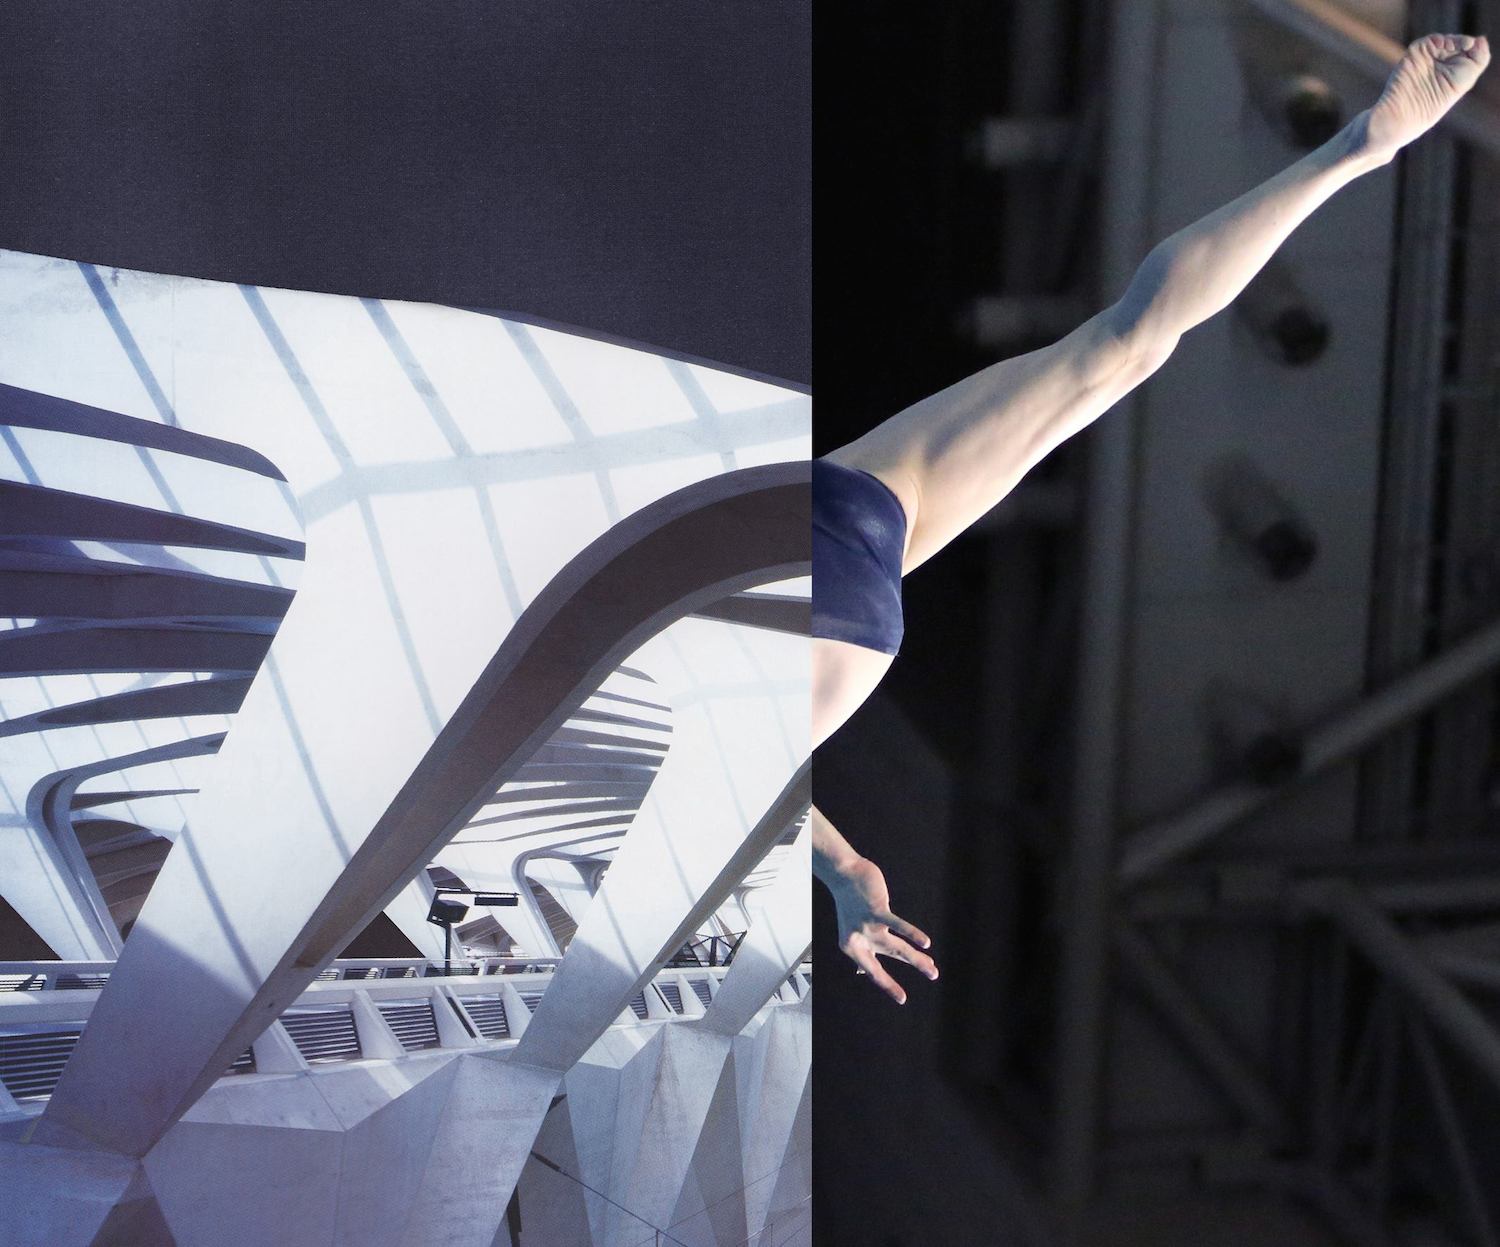
Both Flesh and Not #1
2014, c-type print, 70x83cm
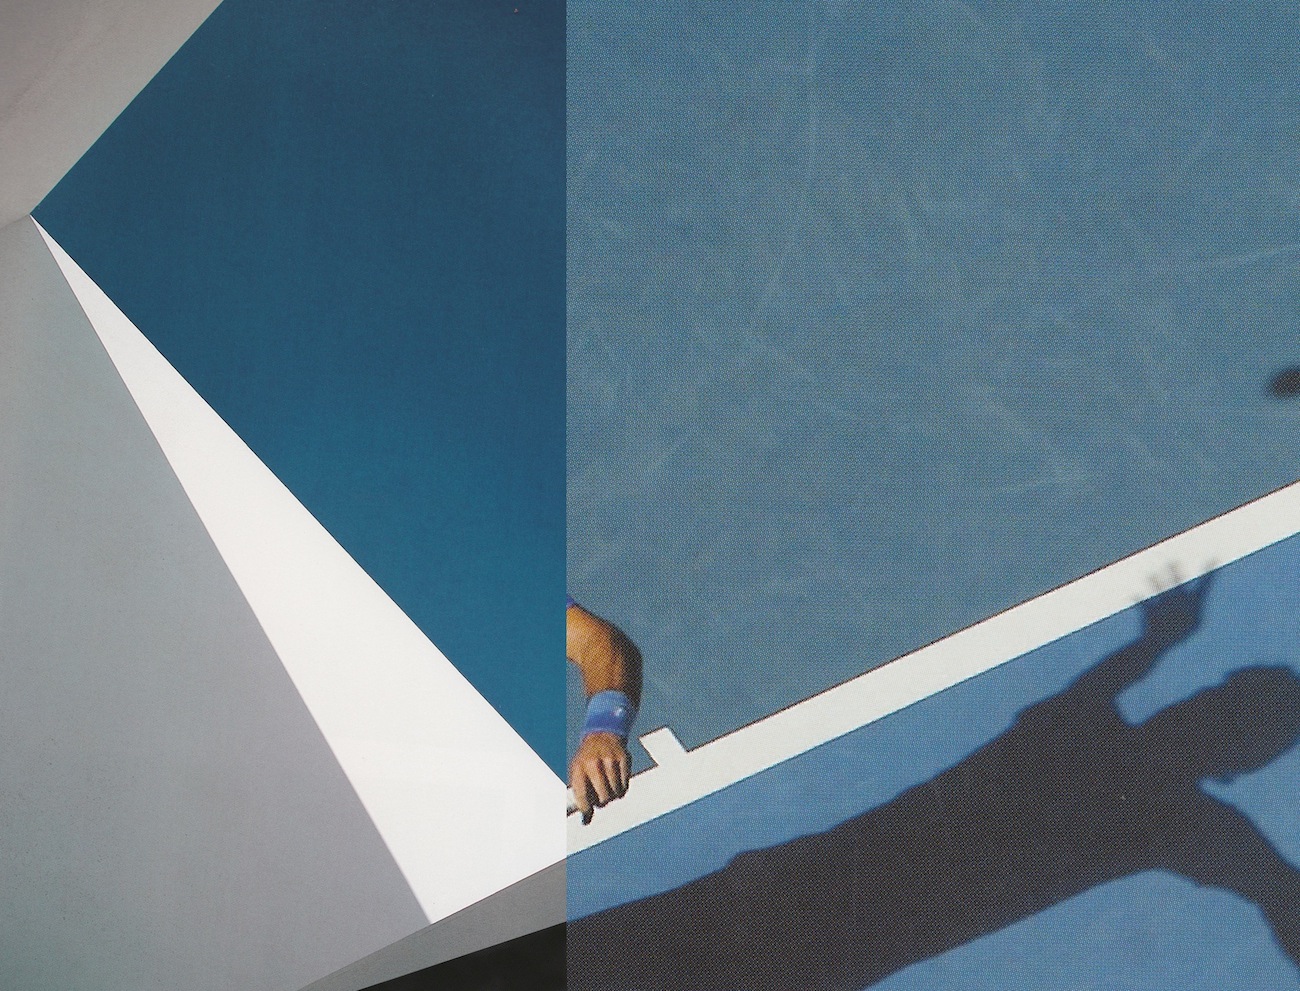
Both Flesh and Not #2
2014, c-type print, 70x92cm
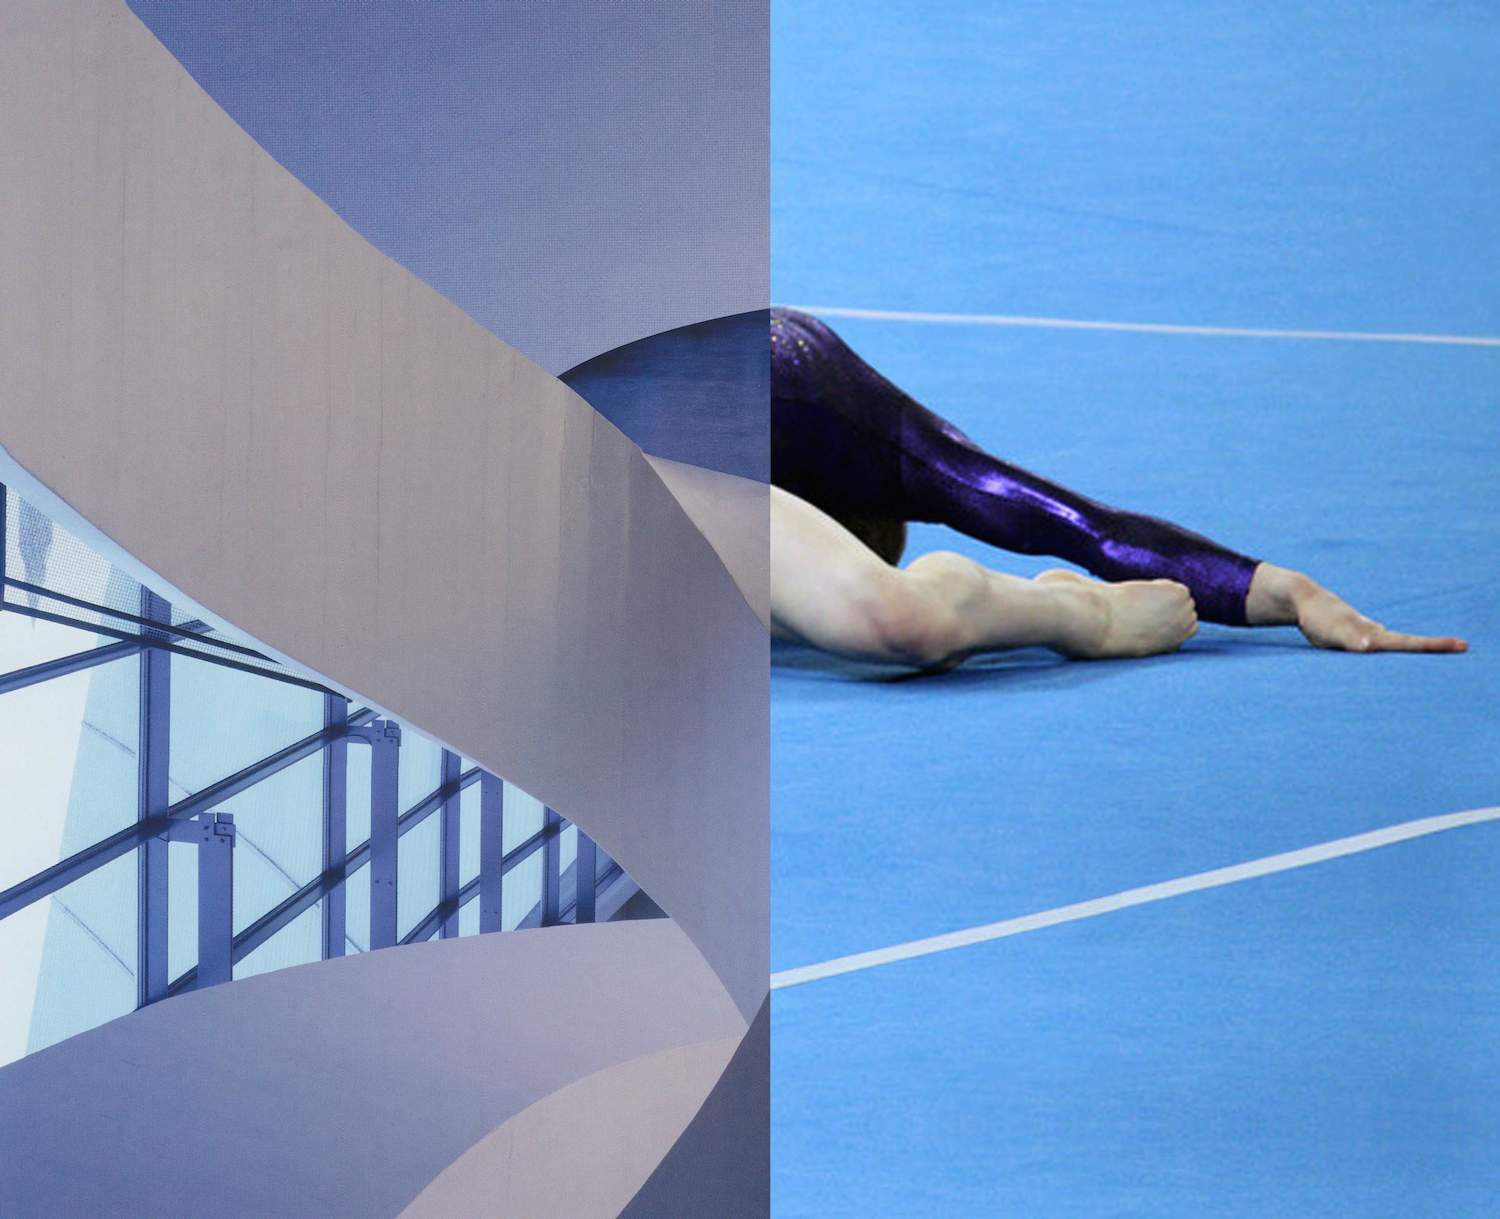
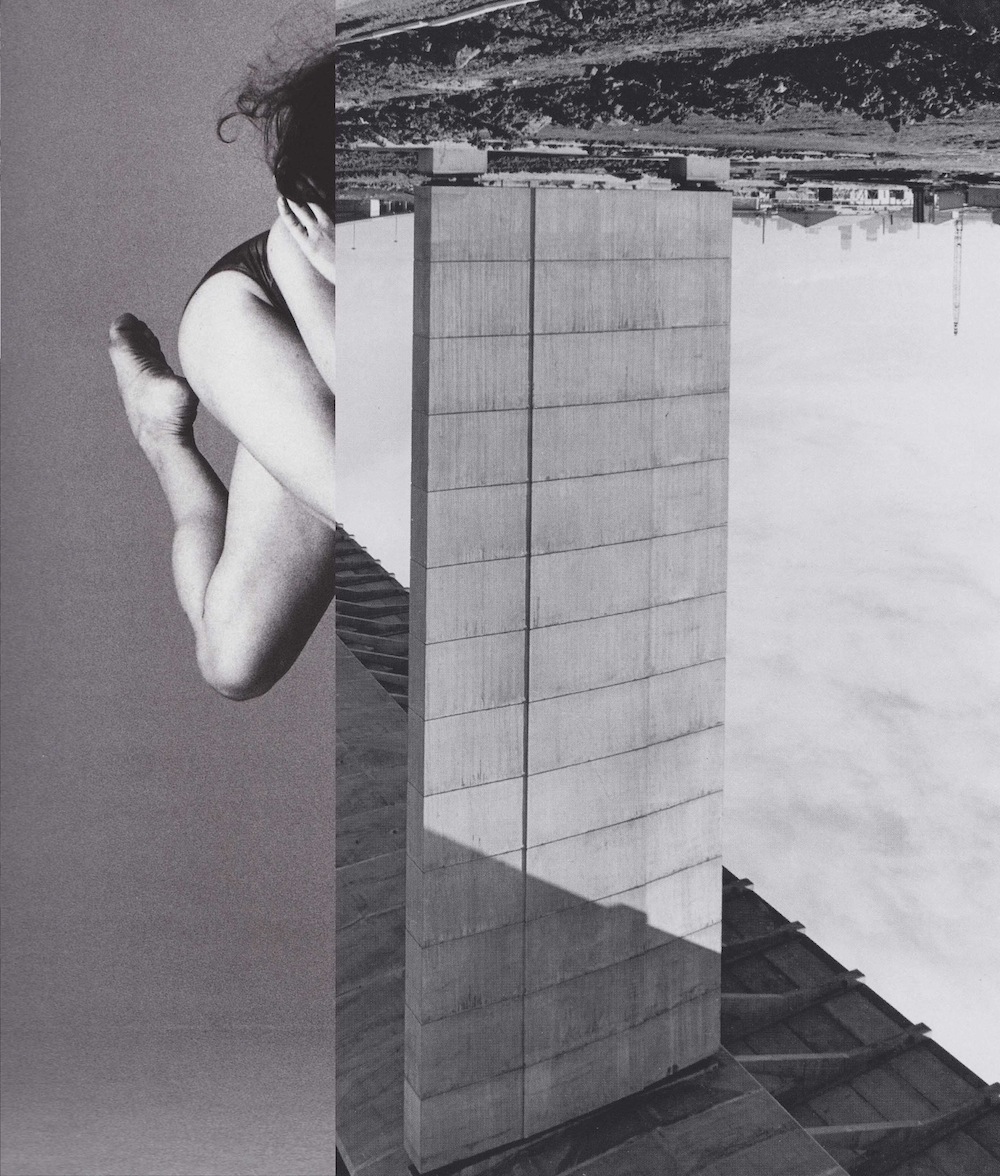
Concrete #1
2014, c-type print, 80x99cm (after Nadia Boyce)
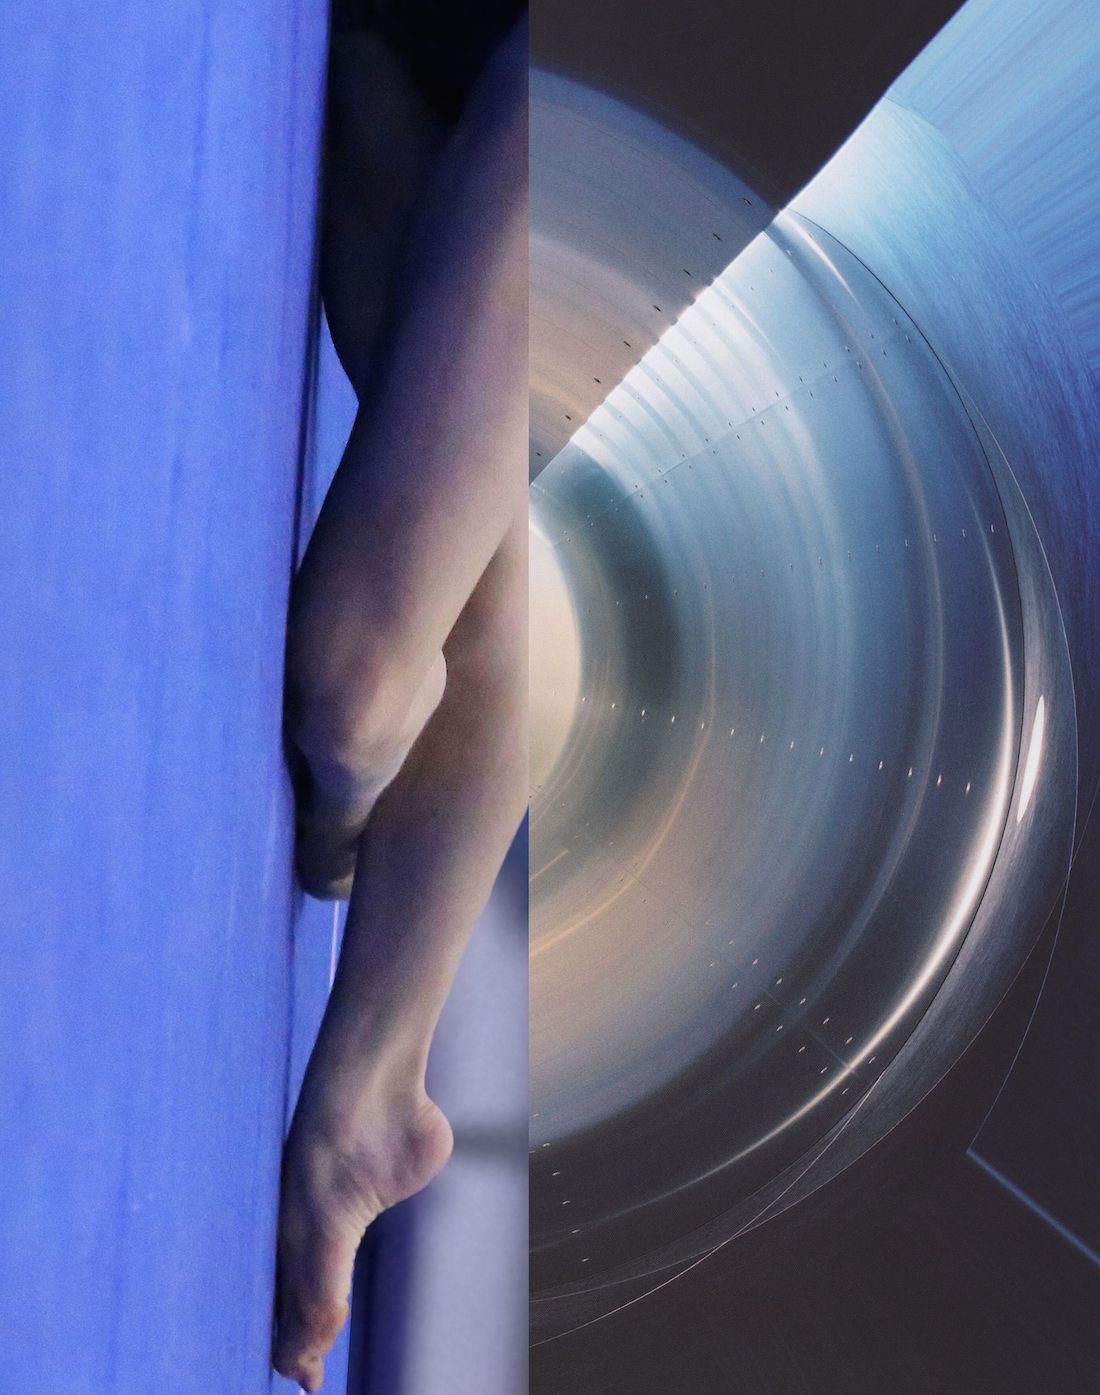
Concrete #2
2014, c-type print, 80x63cm (after Nadia Boyce)
Concrete #5
2014, c-type print, 80x96cm (after Nadia Boyce)
![Comalco aluminium used in the construction of the National Gallery of Victoria [7]](https://images.squarespace-cdn.com/content/v1/54c5c5efe4b0e39e5e25d947/1423662216235-05Y92MR5WUWZVW8ZJZJT/CCP1.jpg)
Comalco aluminium used in the construction of the National Gallery of Victoria [7]
2014, photo-collage, 87x60cm (after Wolfgang Sievers)
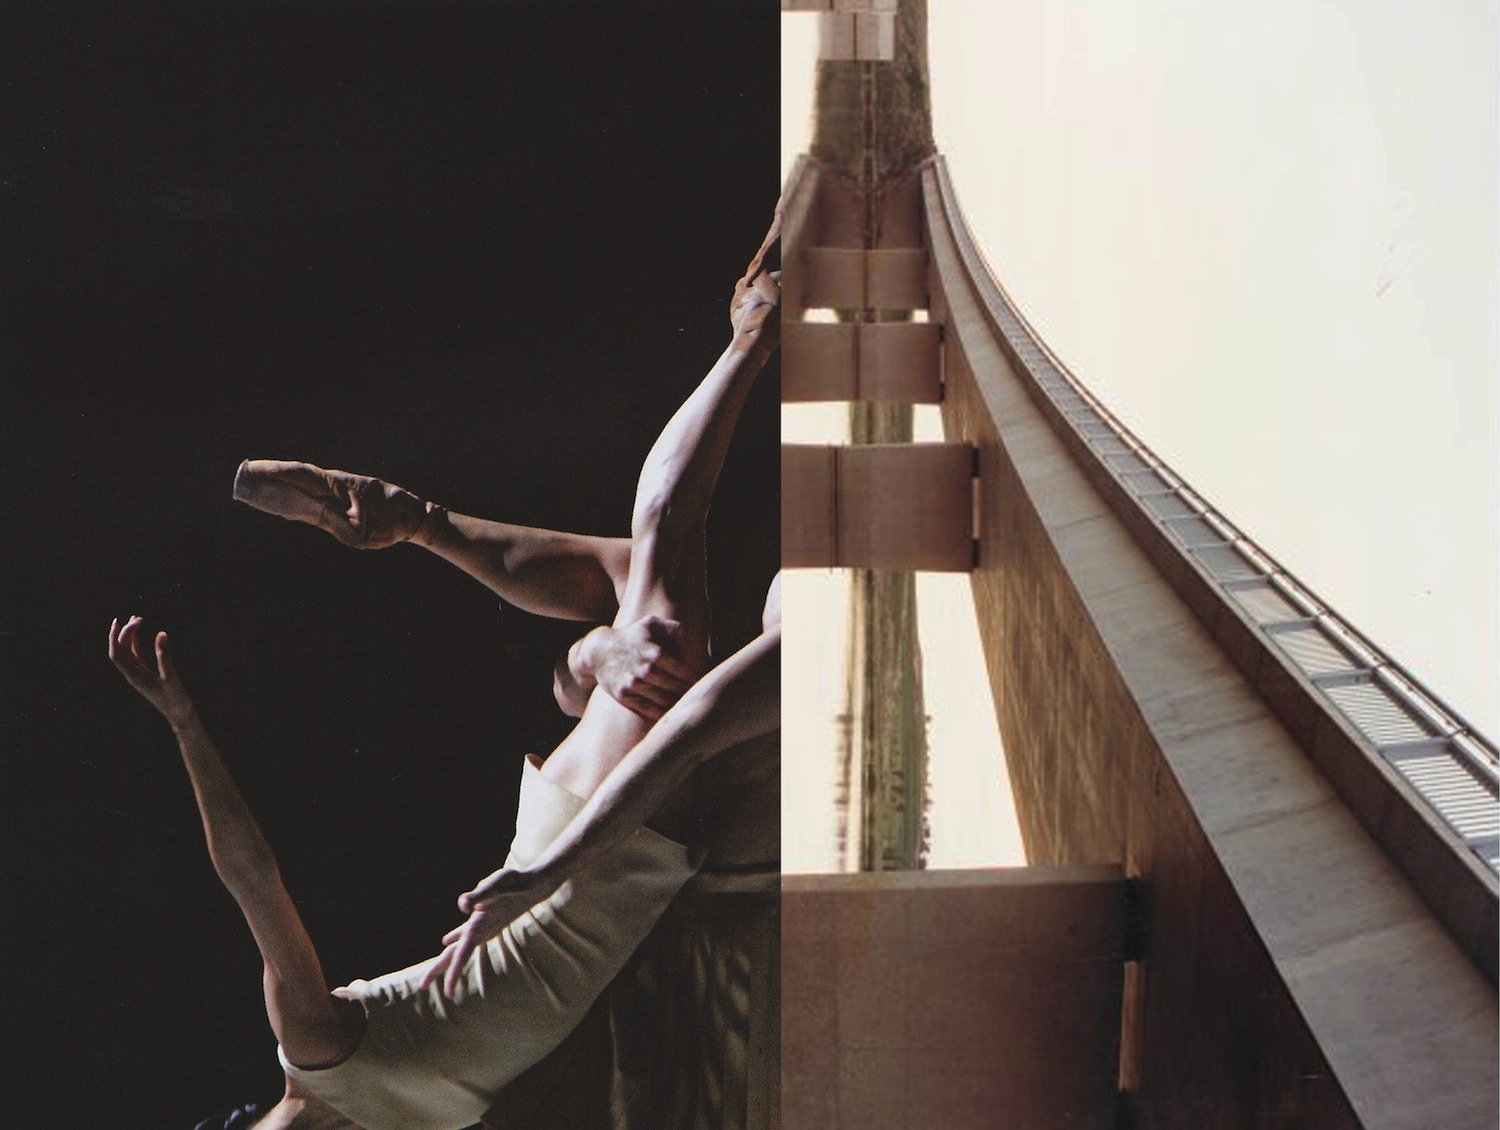
Westgate Bridge
2014, photo-collage, 79x53cm (after Wolfgang Sievers)
![Comalco aluminium used in the construction of the National Gallery of Victoria [18]](https://images.squarespace-cdn.com/content/v1/54c5c5efe4b0e39e5e25d947/1423662265297-JY6DFEHP5RKQ4LGYL70V/CCP3J.jpg)
Comalco aluminium used in the construction of the National Gallery of Victoria [18]
2014, photo-collage, 87x60cm (after Wolfgang Sievers)
Ginninderra Bridge
2014, c-type print, 70x86cm (after Wolfgang Sievers)